Madeline’s work is very contemporary, but her technique is based on serious study of traditional watercolour techniques so this demo was packed with really useful information.
For this demonstration of how to paint flowers in watercolour, Madeline used 300 GSM Arches hot pressed watercolour paper, that’s the one with the very smooth surface. She prefers the 300 GSM because it’s heavy enough not to warp, even with a lot of water, but not so heavy that it absorbs too much paint, and you start to lose intensity of colour.
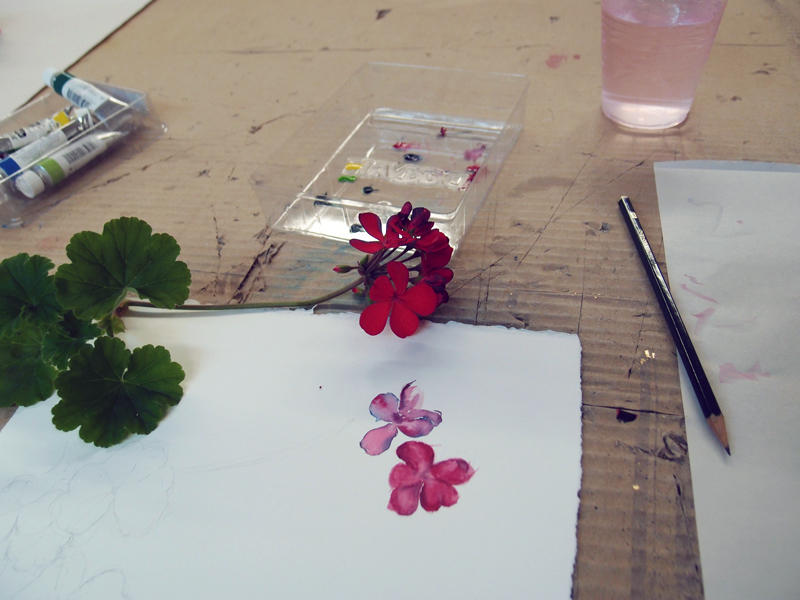
First, sketch your flower very lightly in pencil. Madeline does three takes at this, making corrections each time, and on the third time it should be perfect. In your kit have a range of colours suitable to the flowers you are using – and have as many greens as you can get, in a range of tones from light to dark.
Dip the brush in your jar of water and create a little puddle of water next to the paint, then bring a little of the paint into the water and mix it to make a puddle of colour. Start by filling in one section of the drawing, one petal, for example. When painting, work from the inside of an area out. Unlike drawing where you might outline the shapes first, with painting you want to avoid getting a ridge of paint where you’ve made that more heavily loaded first brushstroke.
Mix the dark tone in your petal, then blend out the edges to a gradient with plain water. Keep squinting so you see tones rather than details. When you drop paint on an area that is already wet, you will see that the colour diffuses out, and as you go on with water colour, sometimes you will choose to have that effect, and sometimes you’ll wait for the paint to dry. Madeline says that while a lot of people think of watercolour as a really expressive medium, it is actually very structured in the way you plan and execute the work.
Do the leaf in sections, leaving the seam lines white, you can do them later, after the main leaf colour has dried.. Each segment will be a slightly different shade of green. If there is a reflective area that will need to be a lot lighter.
Shadows are very important. Sometimes Madeline does the shadows first. Shadows generally are a neutral grey. Mix a purple colour then neutralize it with a bit of yellow. It needs to be really watery. Fill in the shadows piece by piece.
Two important pieces of advice:
1) Fool yourself into being relaxed before you start and don’t be in a rush.
2) Remind yourself to keep looking at the thing you are painting, rather than only looking at the painting itself.
Julia Gorman 2014